7 Easy Historical Hairstyles for Naturally Curly Hair
7 Easy Historical Hairstyles for Naturally Curly Hair
Two easy Victorian hairstyles, Medieval braids, Renaissance hair taping, simple 18th century hair, a Regency updo, and an Edwardian Gibson Girl, all on naturally curly hair! This tutorial for easy everyday historical hairstyles is perfect for historybounding and historical working women, and will work for straight, wavy, curly, and coily hair textures.
Adapting historical hairstyles for curly hair
I have naturally curly hair and have always struggled following historical hair tutorials done on long, straight hair. So here are my methods for doing curly historical hairstyles! Here are seven different styles spanning 600 years : Medieval 13th and 14th century ramshorn braids, Renaissance hair taping, a simple alternative to towering gray powdered 18th century hair, a Regency style for when balls are allowed again, the mid Victorian style I wear for Dickens Fair, my favorite quick 1890s hair, and finally a big messy Edwardian topknot for putting an even bigger Edwardian hat on. All of these hairstyles are quick enough for everyday historybounding wear, and can be done using historical hair techniques and tools, or modern ones.
-
Hello! I'm SnappyDragon, you can call me V, and as you may have noticed, I have a lot of curly hair. I'm also a hairstylist as my day job. When I'm doing my hair to wear with historical outfits, I sometimes run into problems following tutorials. My hair is never going to act like Morgan's or Courtney's, just because . . . My hair isn't like Morgan's or Courtney's! So I've come up with my own ways of doing my curly hair in historical styles.
I'm going to show you seven hairstyles from the middle ages all the way through the 18th century, Regency, Victorian, and Edwardian eras. These are quicker, easier options, more for everyday wear by working people than the high-fashion, high-effort styles we see for full costume dress. You can do these styles with any hair type, even straight hair, but you might need to use slightly different methods that suit your hair best. Even no two heads of curly hair are the same, so your hair might also look a bit different, and that's not a bad thing! Very coily hair especially is underrepresented in historical hair tutorials. The American Duchess Guide to 18th Century Beauty does have an excellent essay from Cheyney of Not Your Momma's History on Black womens' haircare in that time period, but the book only features one Black model, who has a looser coil. Carla of TinyAngryCrafts is working on an 18th century tutorial with her very coily hair, so go subscribe to her so you don't miss it. Actually, just subscribe to to her anyways because she's lovely and so are her videos.
Most curly-haired folks know that hairbrushes and sometimes even combs are the enemy. You will not need to brush or comb your hair out to do these styles! You are safe! As long as your hair is relatively tangle-free, you'll be fine. I washed and detangled yesterday.
Curly hair has more natural volume because of its texture. Since it's wider compared to how long it is, I often have to use the "short hair" versions of historical styles even though my hair is nearly waist-length. However, I also find I can do large hairstyles that need backcombing, teasing, or padding on straight hair without any of those. The tighter and springier your curls are, the more both of these will be true.
I'll be using the following tools and products— some are modern, some are historical. I have a tailcomb, which I'll only be using the pointy end of to make sections, and a couple sectioning clips. I also have small and large modern hair elastics, small and large bobby pins, U-shaped hairpins, some silk ribbon, and a bodkin or large blunt needle. For products, I have Penny River Costumes hair powder, which I've poured into a non-aerosol dry shampoo bottle. It's better than any dry shampoo I've ever used. I also have their pomade, a spray bottle of water mixed with a little styling cream, and some light-hold hairspray.
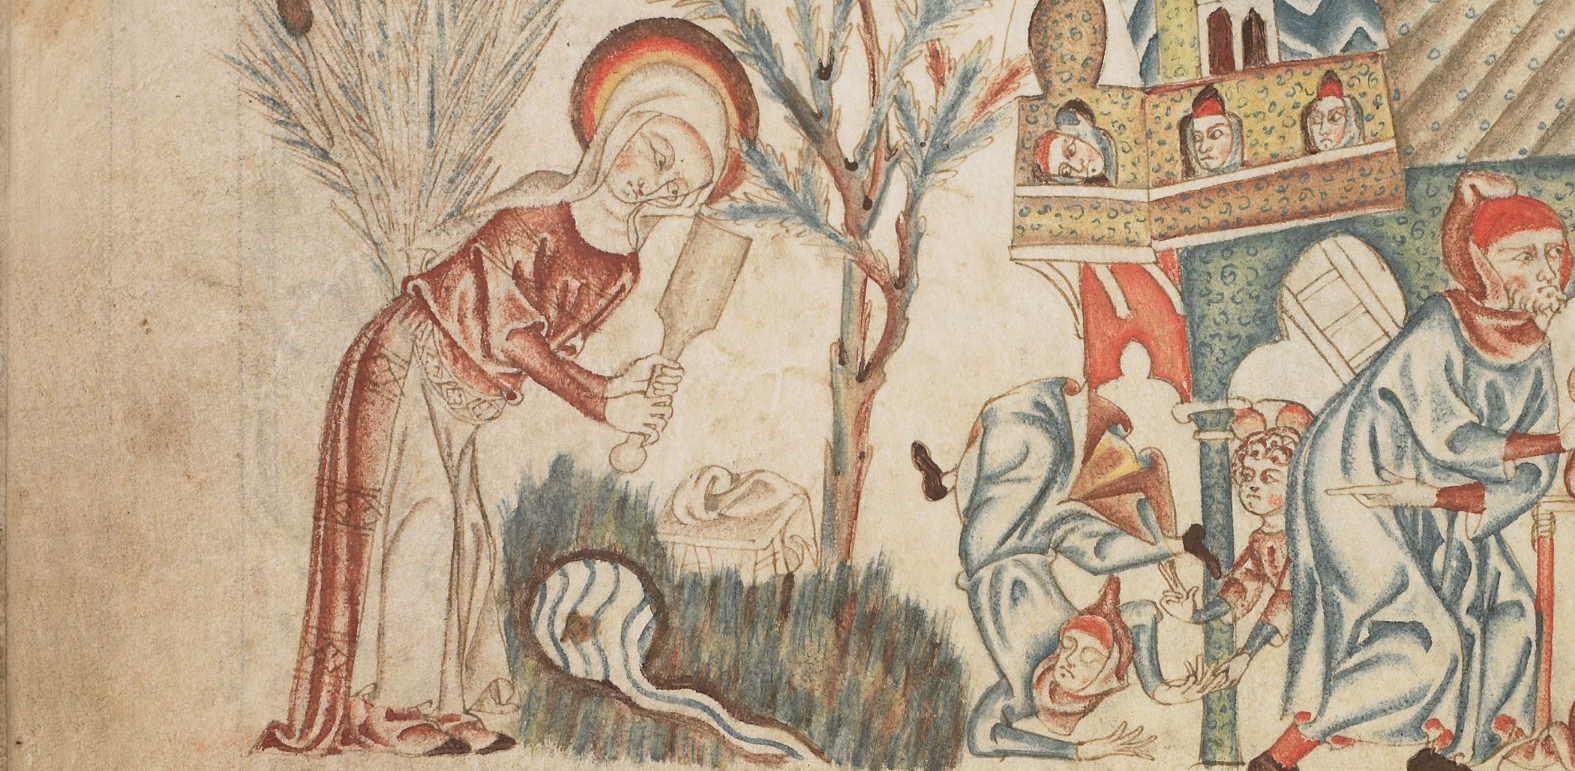
You might recognize this first style from my video on medieval Jewish womens' headwear. It's appropriate for the 13th and 14th centuries, and was usually worn with a veil on top. For how to add the veil, go watch that video! Part your hair in the center all the way down the back of your head, to make two sections. If you hair is shorter or very voluminous compared to its length, gather the section at your temple and start braiding it down in front of your ear from there {do one side like this}. If it's longer and drapier, start braiding from the nape of your neck. Once you've done both sides, loop the braids around your ears. If you braided from your temple, you can just secure the end behind your ear or at the back of your head, wherever works. If you braided from the nape, bring the braid forwards, up in front of the ear, and secure it to the top of your head. I'm a little asymmetrical, since I've done one side each way, but both look great with or without a veil.
Moving into the renaissance, the two braids were still the foundation of the hairstyle, but arranged differently. This style involves hair taping, or wrapping a ribbon or fabric tape around the braids to secure them {hold up ribbon and tapestry needle/bodkin}. This is inspired by a Morgan Donner video, but it's one from about two years ago, linked in the description and card on the right {taking down braids}. Starting with the same center part, twist the front sections of your hair nearest your hairline. You can do either a flat twist, or a two-strand twist, and make them as small and tight, or as fluffed-out and voluminous as you want. When you reach the ear, stop twisting, and braid that entire section from the nape of your neck. You might find it helpful to tie off the twist if your hair is slippery {demonstrating on other side}. If your hair is longer and drapey, you can cross the braids behind your head and then bring them up to the crown area, forming a circle at the back of your head. If your hair is shorter, or very voluminous compared to its length like I mentioned earlier, you might need to bring your braids straight up to the crown of your head, more like "milkmaid braids". Use a clip or a pin or something to hold them there while you tie one end of your ribbon securely to the base of a braid, and thread the other through your bodkin or needle. Now, begin sewing the braids to the hair at your scalp, using a whip-stitch like method that wraps the ribbon around the braids. For extra security, you can even sew through the braids instead of just wrapping around them. A grippier ribbon works best, which is why I chose silk taffety, but twill tape or matte synthetics like grosgrain will work well also. When you reach the other side of your head, tie off the ribbon at the base of the other braid. You can accessorize with a veil, a cap, ribbons and flowers, or just leave it as is . . . secure in the knowledge that once sewn in place, your hair is going nowhere.
The towering powdered styles we associate with the 18th century were only worn everyday by the rich and high-fashion. What portraits we have of working people show simpler styles, with some volume at the front, and the rest of the hair coiled up and covered with a cap. Separate out the front section of your hair and make sure it's got some powder or dry shampoo in the roots, for volume. Mine already has plenty. Tie the rest of your hair into a mid-height ponytail at the back of your head. Now, drape the front section back over the top of your head towards the ponytail, and push it forward to puff it up. Pin behind the pouf, at the crown of your head, and then again above the ponytail. Coil all of the hair up into a bun, including the ends of the pouffed section, and secure it with pins. The period option would be large U-shaped pins, but mine are too small, so I'll use large bobby pins. If you like, you can add a cap over top, and a colorful silk ribbon to complete the look.
Pull hair into a high ponytail. If you have short layers or bangs, leave those out to frame your face. If you have long hair like me, pull all of it back. Choose several curls from the top of the ponytail, then bring them forward to hang in a cluster beside your face, like so. Pin them to the top of your head, with the ridged side of the bobby pins towards your scalp, then arrange them at the front. Repeat on the other side. Twist the rest of your hair into a bun using any method you prefer. Since my hair has so much volume, if I twist and coil it all together it's uneven, so I divide it in half and twist the sections around eachother. I'll pin that in place with these large bobby pins. Here's our finished Regency style!
There's a really clear evolution from the Regency style, with a high bun and short curly face-frame, through the even higher 1830s, into the low bun and draped sides of mid-Victorian hair. Part your hair in the center, then separate out two sections at the front, one on each side. Coil everything else into a low bun at the back of your head— this one I can do all in one section— and pin in place. You have some options for the front sections : "Pendant" braids were popular, as were wide draped sides and sometimes curls as well. I'll do the style I use for Dickens Fair, which combines the last two. I'll pick up one front section, pinch it a few inches above the ends, and drape it beside my face like this. The hair above where I've pinched it forms a wide loop, and the curly ends fall in front of my ear. I'll pin it in place at that point, somewhere above my ear, with two or more crossed bobby pins. Once I've done the other side, this will look great with or without a mid-Victorian bonnet on.
Part your hair in the center or at either side. If you have bangs or short curls at the front separate them out! Curly bangs were super popular in the 1880s and -90s. Then, gather all the hair together, hold it behind your head and roughly parallel to the floor, and tie it into a ponytail a couple inches out from your head. Then, lift the base of the ponytail up to the crown of your head and smoosh it down, adding a couple of pins to secure the base. Arrange the ponytail into a bun, or even an artful mass of curls. The fluffy, voluminous front and tighter back are perfectly characteristic of late-Victorian styles.
This is the bigger, more exaggerated evolution of the 1890s style, and they're done much the same way. {applying dry shampoo} I'll make sure my hair is really well powdered at the roots, for maximum fluff. Gather all of your hair as if you were forming a ponytail, but the angle should be higher and the hairtie placed closer to the ends. Now, push that point down onto the top of your head, and nudge the front over to the side as you do this. Secure the base of the ponytail to your head with whatever pins work; I'll use large bobby pins. Then, careful not to disturb all the front and side fluff, arrange the ponytail into a bun. This style was And there you have it! Seven hairstyles spanning 600 years, suitable for the regular historical person or historybounder, all demonstrated on curly hair. If you try out any of these styles, I want to see it! Share your hairstyle over on Instagram with the hashtag #CurlyHistoricalHair, or just tag me @missSnappyDragon. I'll be resharing as many as I can. Leave me a comment telling me how you do your hair for historybounding, click the like button if you enjoyed, and subscribe for more curly-haired fashion history funtimes! I'll see you in a few weeks with another video. Bye!
More Like This